Wednesday, November 7, 2012

I've Been Framed So I'm a Basket Case

Yeah...I had to get all punny up in here to introduce two of my latest Goodwill finds. I know that most of the time my thrift store scores are vintage, but I'm sharing more contemporary decor that I scooped up this month.

The first? A giant (we're talking 36" by 24") real wood picture frame for $5.99. When I saw this beauty tucked behind a dresser, I hurriedly put it in my basket. I thought that it would fit a large poster that had stayed unframed in our bedroom for the past 2 years, but since I was only eyeballing it and estimating, I couldn't be quite sure that it would work. However, I decided to snatch it up and return it if it didn't work. That turned out to be a great decision, since it fit my poster like a glove!


The funny part was that I told my husband how good of a deal $6 was, since getting that large of a frame at Michael's could cost up to 10 times as much. Then when I was removing the backing of the frame to put in my print, I found a "Custom Framing by Michael's" sticker on the inside! Ha!


The frame looks great above our bedroom chair and end table, and really ties in nicely with the reddish tones of our dresser.

For another small sum ($3.99) I found a lovely woven ottoman to house our extra blankets.


Ryan loves to keep the windows open during winter (or, as he says, to "let the joy in!") so I like to have more covers on hand for the colder nights. I'd previously been piling them on our chair, but they look much better tucked in the ottoman.


So that's the tale of two of my decor-related Goodwill finds. Have you picked up any good home items lately?


Pin It!

Monday, November 5, 2012

Pinspired: State String Art

Like many people, I've salivated over the state string art projects floating around the blogosphere, Etsy, and Pinterest. I almost convinced myself to purchase one, but my husband said "No way! You can totally make one yourself!" That boosted my DIY confidence. Sure, I've made state-related art before, and I do my fair share of paper crafts, but this nail and string project did seem more challenging than my usual DIY fare. 

Still, I decided just to bite the bullet and give the project a shot. So I set off to Michael's to buy a plack. I ended up with a "wooden canvas," which was perfect for the project, and I used a 50% coupon found by googling on my phone, which put the canvas at $7.50. While there I also picked up some black thread for $0.99. Then I snagged some painter's tape and nails from Walmart.

After gathering supplies, I taped off the edge of my canvas to ensure that no paint would spill over its front face. Then I mixed some orange and yellow craft paint I had on hand to create the perfect shade of Mizzou gold that my husband and I had agreed upon.


I let the paint dry for a night before moving on to the next step. I just googled for Missouri State Outline, picked one, sized and printed it, and then cut out my state shape. Then I used a map to locate Columbia, MO on the state, and I freehanded a heart there. Columbia is, of course, the base of our beloved Missouri Tigers! The hubs and I decided to make our art Mizzou-centered since we both attended MU and root on the Tigers in all of their sports. Plus, we figured that using a more central location (rather than the far-left location of our hometown, Lee's Summit) would make the art look best.


Then I taped the state outline on the canvas and used a ruler to mark dots around the perimeter ever 0.5 centimeters. 


The next step was to hammer nails onto the dots, including the heart outline. This step took around 30 minutes, since I positioned the nails and hammered them in carefully, using needlenose pliers to straighten out the nails whenever needed.


Once the nails were in, I tied the black thread to my starting point in the upper right corner. Then, using one continuous string from my spool, I just looped the thread around the nails in the heart. I will admit that this part was super tedious and I restarted 3 times because sometimes the string got a little clumpy. Eventually I decided to add more nails to the heart so that I had more spots to wrap my string around. This definitely helped with the clumpiness!


And here is my finished product!


I hung it up next to our window in the office. 


Pin It!

Tuesday, October 30, 2012

Thrift Wish List Update

Last May I shared my Thrift Wish List, and in the months that followed I managed to make a pretty big dent on the list! I figured I was due for an update, so here it goes.

Cork-topped jars:


I managed to snag 4 of these jars this summer--2 at a first Friday event for $4 each, and 2 at the Belton Goodwill for $2 each. I've already added 3 of them to my spice storage as shared last week.

Wheaton jars:


I really hit the jackpot with these little glass jars this summer--I found a handful at thrift stores for $0.99-$1.99, and 2 at a First Friday sale for $3. I also use these for storing spices.

Faux artichokes:


I snagged 6 of these faux artichokes for $5 during a lake trip this summer (much cheaper than the alternatives I researched!)

Milk bottles:


I bought 7 lovely milk bottles, all with unique colorful graphics, from a new flea market in Lee's Summit. They ranged from $2-3 each, which was a great deal since most go for $8 and up! 

Pyrex & milk glass cake stands:


I wrote a whole post detailing the additions to my Pyrex collection, but somehow it was deleted! :( But here's a snippet of it on the Pyrex Collective 3 blog. Anyway, I managed a lot of Pyrex scores this summer, including the above turqoise divided dish with a golden scroll lid from the Goodwill Outlet! Things are priced by the pound there, so I estimate this cost around $2, which is a major steal! (I may have screamed out loud when I spotted the telltale blue dish...and then I ran and snatched it up).


Also on the same Goodwill outlet trip (which was hands down my best thrift shopping trip EVER), I unearthed this gorgeous Fenton hobnail cake stand from a box full of glassware. These go for $35+ online, so this was another awesome deal. (Later on a woman gave me the stink-eye as if I would consider handing it over to her).

Print block drawers:


I'd been eyeing drawers priced $25+, so when I found one at the Goodwill Outlet priced at $2, I was thrilled! And would you believe that I found another one for an even better price? $0! Turns out my mother had a print block drawer tucked behind her office door, and she pulled it out for me! Wahoo!

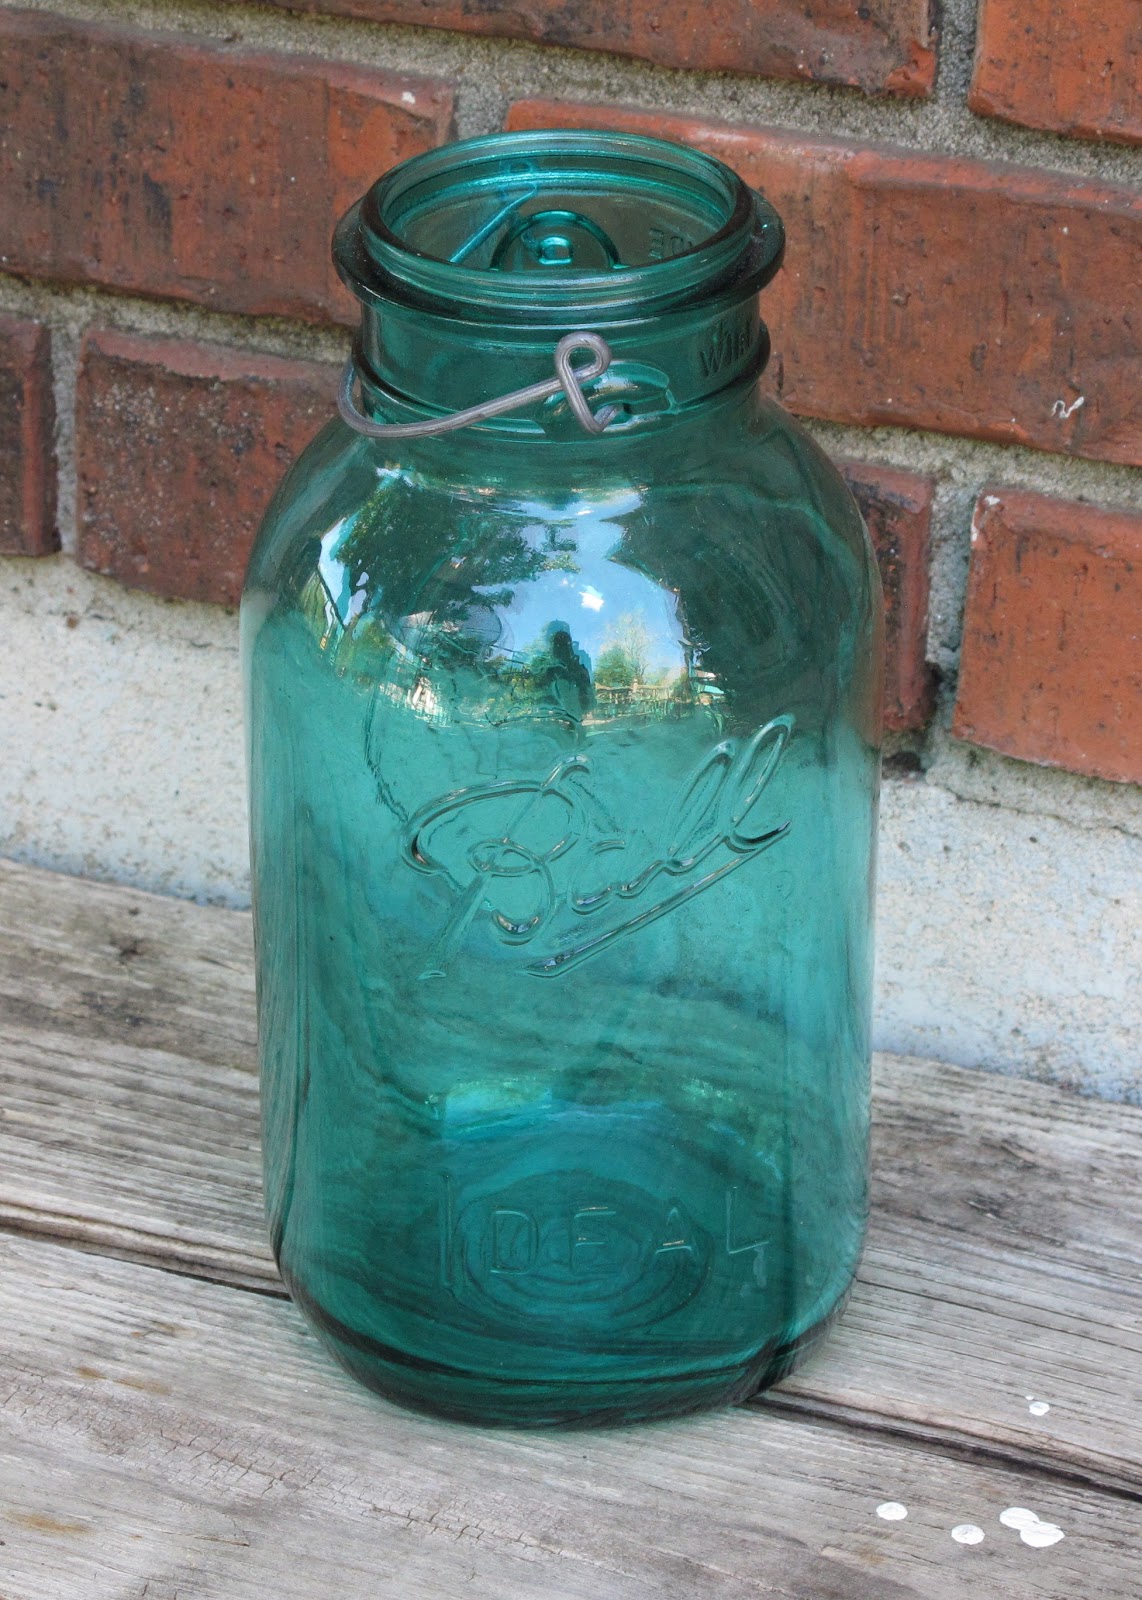
Blue mason jars:


I found an assortment of well-priced blue mason jars this summer, including this deeper aqua 1 gallon wire clasp jar, and a 1 pint aqua Atlas jar.

Yellow coke crate:


I found two vintage coke crates this summer: one at a First Friday sale for $15, and one at a Red Racks for $10. They'll make great storage in our studio!

In addition to the coke crates, I also scooped up a 7-up crate and a Vess crate:


Metal or wooden card catalog:


I found this gray catalog at a Savers for $4.99. I also scooped up a cool metal folder caddy for $1.49, which I think looks great with the catalog drawers:


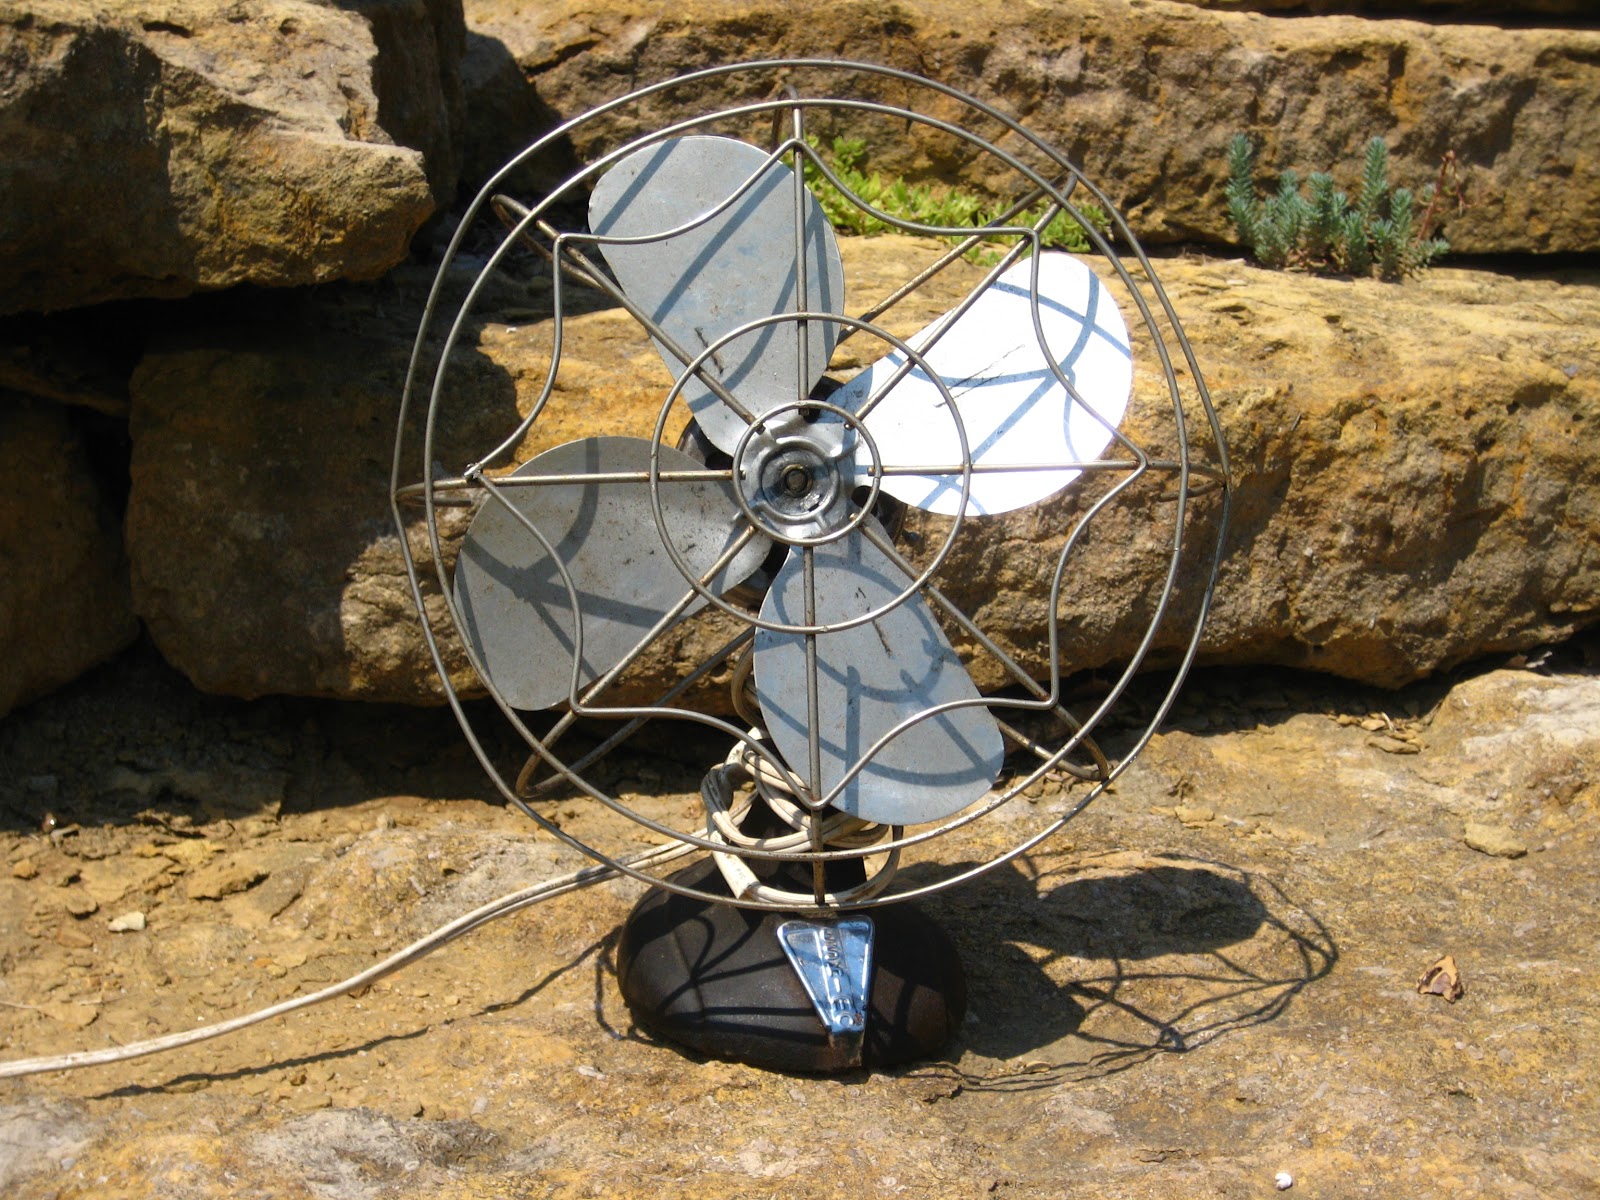
Antique fan:


I bought this lovely fan for $12 at one of my favorite shopping spots, the River Market antique mall.

Vintage tins:


I scooped up a variety of vintage tins over the past 5 months, including a set of 4 nesting kitchen tins at the Goodwill Outlet and the Gasoline Filler tin from my own garage.

White ceramic birds:


I found a pair of white birds at Savers for $3 total, and two brown birds for $3 that I spray painted white.

Since I did so well at finding many of my wish list items, I've since added a few more things to my list. So the following are my new items, along with those I haven't found yet (vintage wire locker baskets, wooden milk crate, vintage doctor's jars, vintage Fiesta relish tray, metal arc lamp, antique binoculars, and a vintage panoramic photo):

Brass elephants:


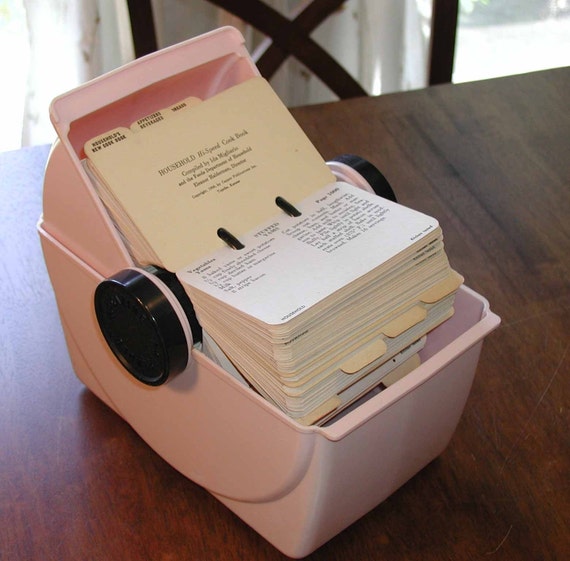
Hi-Speed Rotary Cookbook


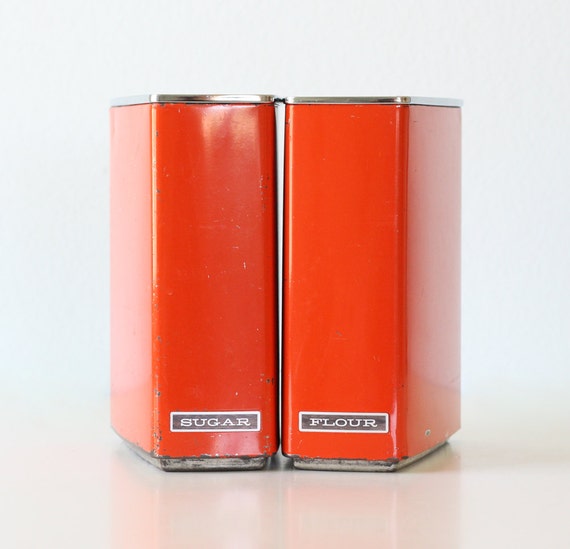
Retro kitchen cannisters:


Vintage school map:


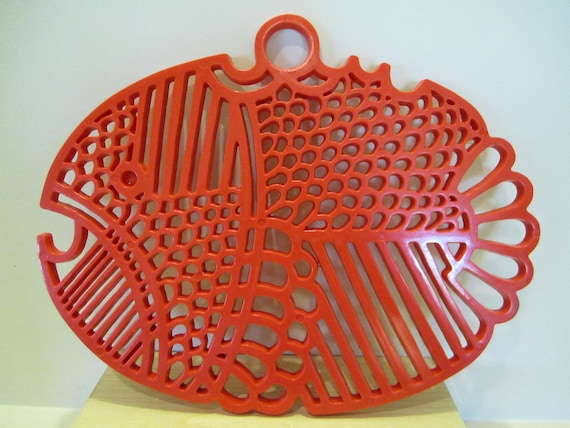
Dansk fish trivet:


Pin It!

Wednesday, October 24, 2012

Spice Up Your Life

I've done a lot to pretty up my spice storage in the past, from creating colorful labels, remaking a Goodwill spice shelf, and transferring my countertop spices into vintage bottles

But ever since I saw Jen's dollar store spice organization on her blog The Social Home, I've been feeling a leeeetle inadequate about the state of my cinnamon, cumin, cayenne pepper, et al.


See? Don't you feel bad, too?

For months I tried and failed to find some affordable glass spice jars. None of my local dollar stores have any, and the best options online would still cost me $1.49 - $2 a pop plus shipping. Since I was looking for 18 bottles to fit my Goodwill cubby spice rack (a $0.99 steal from my parents' visit last spring), at best I'd be spending $37. Not too hefty, but as a thrift-store junkie, this felt far too pricey to me. 

Lucky for me, Goodwill came to my rescue again in the form of this swiveling spice rack with 16 glass jars, all to the tune of $3.99! 


With my 10% discount (using my student ID), it rounded out to $3.50, or  about $0.21 per piece (16 jars and 1 rack)! Even the Goodwill checker seemed to realize that this deal seemed too good to be true. But, as she remarked, the nasty condition of several of the jars probably explained why some customers passed on this steal of a deal. See below.


I, however, knew that these bad boys could be cleaned right up with a nice bath and a trip through the dishwasher.


After they were sparkly clean, I decided to pop some lovely labels on my jars. I picked up some of the Martha Stewart labels from Staples and wrote out the spices by hand, since unfortunately there isn't a template for printing directly on these labels. I kinda like my penmanship, though, and these labels are cute as a button on their own, so it's okay!


So here's how these bad boys turned out:


And now fore a before & after, since I love 'em:

Considering that the alternative would've cost 9 times as much, I'd say I did pretty great on these thrifted glass spice jars. And they look right at home in my spice cubbies, which previously sat on my counter and held a mish mash of plastic bottles...


...but was relocated and hung on the wall to create a little more counter space for some new additions:


Can you spy them? 


Yep, they're some of the Wheaton jars I purchased this summer! I just popped filled them with some spices and popped them next to my utensils, under the cubbies.


I also added more Thrift Wish List purchases to my pretty-up-my-spice efforts: three more corked jars for spices I buy in bulk. Previously I'd tossed some salt, pepper, and sea salt in a trio and popped them next to the stove:


After finding three more when thrifting & antiquing this summer, I cleaned them, added more chalkboard quatrefoil labels, and moved them into the grouping. 


Pin It!

Pin It button on image hover