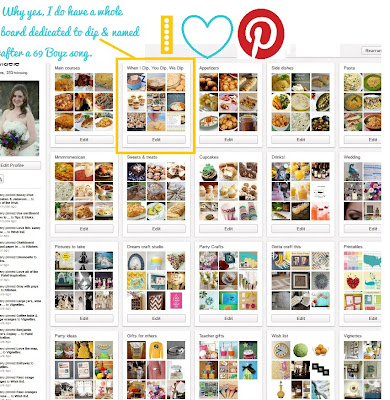
As you can probably tell from my most recent DIY projects and my weekly menus, I'm kind of a Pinhead. Whenever I'm jonesing to try a new recipe or make something pretty, Pinterest is my go-to source. It's like a digital mecca for all of my crafty/culinary/design needs.

So when two of my favorite lady bloggers--Katie from Bower Power and Sherry from Young House Love, along with Cassie from Hi Sugarplum and Erin from The Great Indoors--declared another Pinterest challenge, I knew I had to throw down.

Thus, I turned to my "Gotta craft this" board and looked through my lengthy to-do list. I'd been itching to do something with our wedding and shower cards, and when I rediscovered this pin that I'd happened upon months ago, I fell in love all over again. (Sorry Ryan). I had to craft it!
 So I grabbed our cards, a piece of cardboard, some coordinating scrapbook papers, double stick tape, scissors, and a hole punch, and set to work.
First I organized our cards from smallest to biggest and stacked them up real nice. (No picture for that step--it's pretty self-explanatory). Then I measured and cut out cardboard to create a front and back cover for our book. Next I covered the front and back with my scrapbook papers. I wanted an eclectic look, so I used different papers and shapes on each side of the cardboard. I applied them with the double stick tape.


Then came the hole punching. The most tedious part of the whole shebang. I completed the arduous task while

I made sure that the smaller cards would line up with the holes, too:

Once everything was decorated and punched (including the covers--I just used a scrap of punched out paper, traced it to the cardboard, and cut it out with an Exacto knife since the cardboard was too thick for the puncher), I grabbed some pretty pink baker's twine, stacked up the cards & covers, and threaded the twine through the holes.

One bow later, and I had this lovely book full of our wedding cards. And I think it's pretty darn cute. I like that I can just grab the book, flip through it, and see our loved ones' well wishes.


I just have to share a picture of one of my favorite cards...hilarious. #2 is very true.


I've made it a goal to complete 10 of my pinned DIYs by the end of this year, and so far I'm trucking along nicely--I've made paint chip wall art (inspired by Sherry herself), a paper pinwheel wreath, and painted up some spoons! Plus I adjusted some existing artwork to copycat a lovely bedroom gallery wall. Have you conquered any project that you've pinned lately?


I've wanted to do this too! Yours turned out so cute! (definitely going to have to pin it!)
ReplyDeleteHmmm... you've totally inspired me to do something with my wedding cards that have been laying around for the past 5 years! This looks so cute!!
ReplyDeleteFound you through the blog hop. As a fellow Mizzou alum, your title caught my eye. M-I-Z...
Cool! I just stuffed all of our wedding cards in a bag, likely never to be seen again. But now you've inspired me to dig them out and make them easy to read through! Great job, and thanks for linking up with the Winter Pinterest Challenge!
ReplyDeleteErin @ The Great Indoors